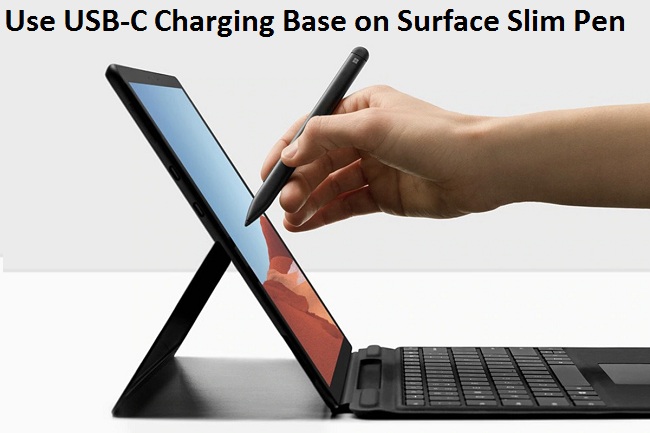
The USB-C charging base is the accessory intended for Surface Slim Pen and it is compatible with surface devices as well. It is compatible with the surface system as the classic as Surface Pro 3 with Surface Neo or Surface Hub 2S that comes with the charging base, which can be connected using USB-C. If you want to set up the same, then this post might be helpful for you. Read the blog and follow the instructions to customize and use USB-C charging base.
Know About USB-C
- USB-A to USB-C cable
- USB-C port
- Charging base
- Surface Slim Pen
Customize Surface Slim Pen
If you want to customize the Surface slim pen, then you can follow the provided steps:
- Connect USB-C to the end of a cable to charging base
- Connect another end of a cable to the USB-A source.
- Set the pen to the charging base. Wait for a second and take away pen to initiate to write on the surface.
As LED light turns to amber on the Slim pen, please set it to the charging base to revive the battery.
Connect the Slim Pen to the Surface
If you want to connect Slim pen to the surface, then abide by the given steps:
- Go to Start.
- Click on Settings.
- Select Devices.
- Choose Add Bluetooth or another device.
- Tap on Bluetooth.
- Click and then hold the top button of the pen for a second till the LED light flash white light to switch ON the Bluetooth mode.
- Choose the Surface Slim Pen to connect it with a pen.
If users have Surface Pro X, they can use the Swift Connect to connect the Slim Pen and to do so write on the screen with a pen.
Troubleshoot the Charging Problems of Surface Slim Pen
- Pen’s battery discharges quicker than the previous pen.
- The pen has not been used though it stops working.
- Unable to charge Pen.
- What’s a light on the pen means.
- Help to pair the Pen.
- The pen is not working.
- Pens Battery Discharges Easily Than the Previous Pen
The Surface Slim pen can be charged. If you are not using the pen, then charge it in the USB-C or the storage tray of the Surface Pro X keyboard.
- The Pen Has Not Been Used Though It Stops Working
Slim Pen can only hold the charge for two weeks. After that, users have to charge it again to use the pen.
- Unable to Charge the Pen
The Surface Slim Pen comes along with the Surface Pro X Signature Keyboard or the USB-C charging base. They can charge the pen, and no other options are available.
- What’s the Light on the Pen Means
The LED light on the Surface Slim Pen can tell you exactly when to charge.
- Help in Pairing the Pen
- Go to Start.
- Click on Settings.
- Select Devices.
- Choose Add Bluetooth or another device.
- Tap on Bluetooth.
- Click and hold the top button of the pen for a second until the LED light flashes the white light to switch ON the Bluetooth pairing mode.
- Choose the Surface Slim Pen to pair it with a pen.
- Pen Is Not Working
- Go to the Device service and navigate to the repair page of Microsoft.com.
- Sign in to the Microsoft account and then choose the surface or register the new device.
- When the users choose the registered device, they can offer replacements depending on the eligibility for an exchange or warranty status.
Aurora is an engineer by day and writer by night. Previously, Aurora worked as a certified technicians for a tech hardware startup. In her free time, she likes to write about printers, routers, web browsers, and other technical stuff. She majorly writes for canon printer support etc.
Comments
Post a Comment